There are a few steps involved in creating Tax Receipts:
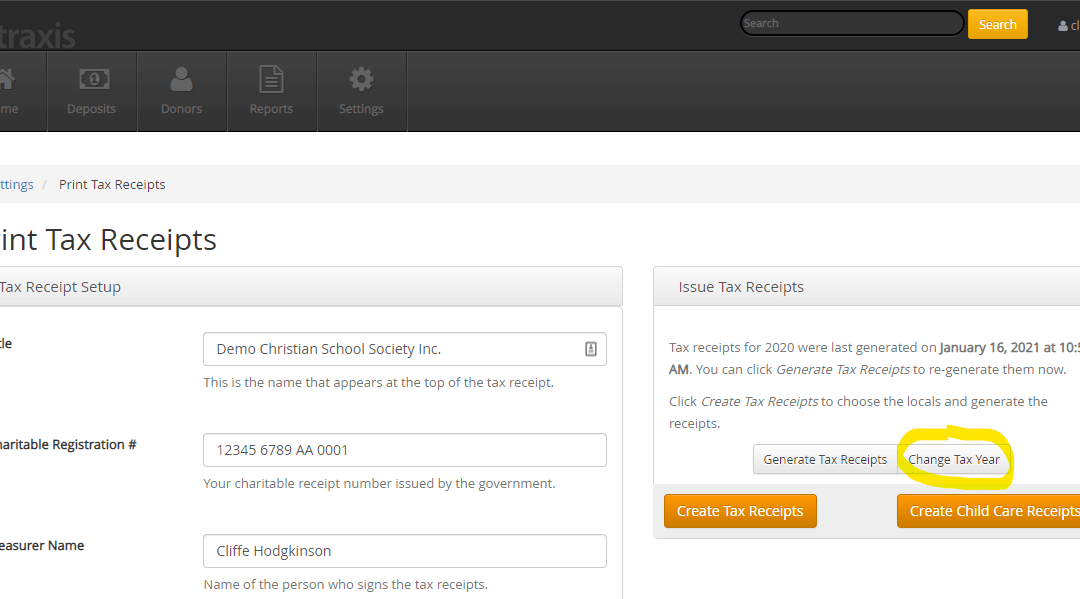
1. Set the current Tax Year. To do that, go to Settings > Print Tax Receipts and click the Change Tax Year button:
2. Set the year to generate Tax Receipts for and click Change Tax Year:
3. Generate the tax receipts. This creates the information necessary to print or email the receipts.
4. Now you’ll actually create the Tax Receipts. Click the Create Tax Receipts button. Some things to remember:
- Be sure the Tax Year you set above is in the Tax Year field
- Set the Issue Date to today’s Date
- Choose the Local you would like create the receipts for, or All Locals
- Choose whether you’d like to email the receipts or not. If so, you have options to include the Child Care receipts, the subject and body of the email that goes out, and if you’d like to be copied on every email that goes out.
- Choose whether you’d like to print the receipts or not. You can choose to print them all or just the ones without email addresses.
- Click Create Tax Receipts and it will send them out and/or generate the PDF. There will be a message when it’s finished:
After the receipts have gone out, you can keep track of which ones were delivered successfully, and which ones were opened (note that not all opens can be captured). Go to Reports > Tax Receipt Email Deliverability Report. Choose the Tax Year and Format (PDF or Excel) and click Run Report:
“Delivered” means the member’s email server accepted the email. Opened is the first time they opened it. Bounced or Dropped means there was a problem delivering the email. You will get an email notification for any bounced/dropped emails.
Note that for Delivered messages, it still may go to the user’s Spam/Junk folder.


Recent Comments